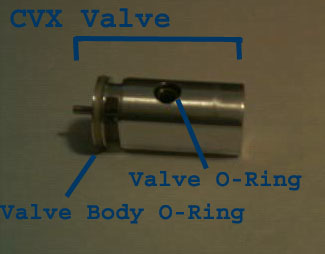
The above image shows what the valve basically looks like. When the valve leaks, these are the first O-Rings to check. The Valve O-Ring seals the gap between the Reduction Fitting and the Valve Body. The Valve Body O-Ring seals against the inside of the Upper Receiver. Whenever you remove the Reduction Fitting, you must replace the Valve O-Ring (sometimes you can get away with flipping it over.) Check the Valve Body O-Ring for nicks and wear.
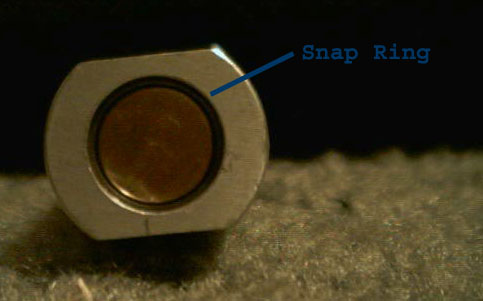
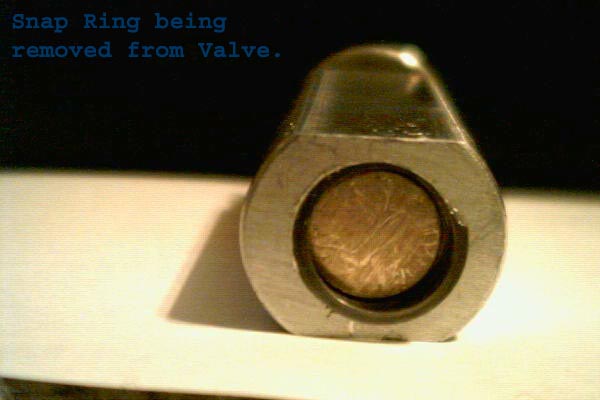
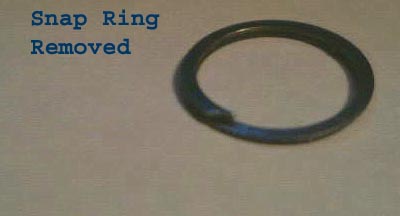
Here is the first step. If you have the patience, you will eventually succeed here. This is the hardest part of the entire job. To remove the Snap Ring you will need something small with a sharp edge. I suggest using a dental pick, or a pocket knife. Just about anything durable with a sharp edge will work. you have to take the lip on the snap ring and lift it up. From then on, it just peels right off. Good Luck!
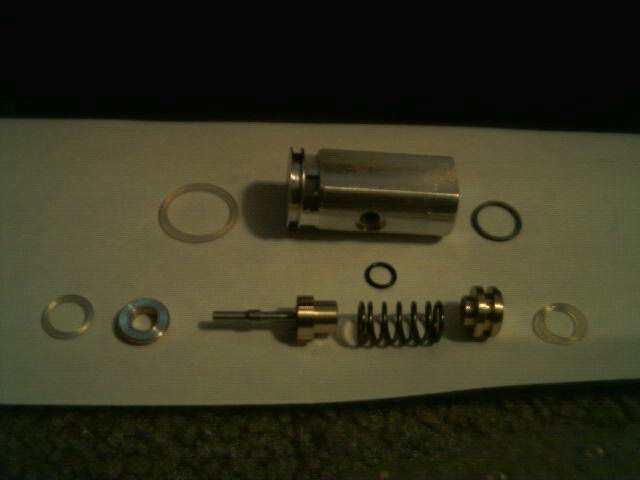
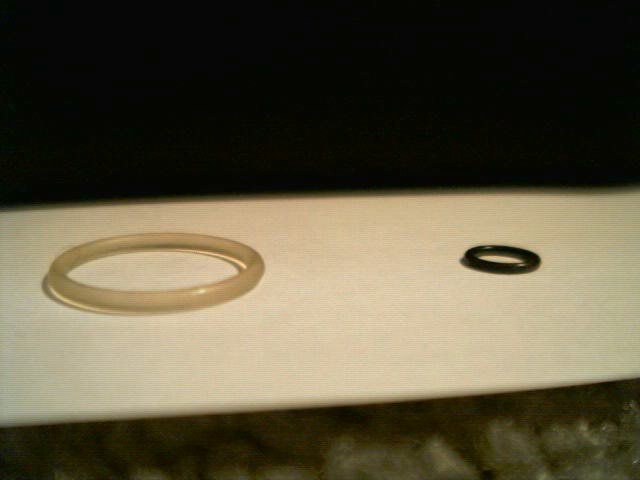
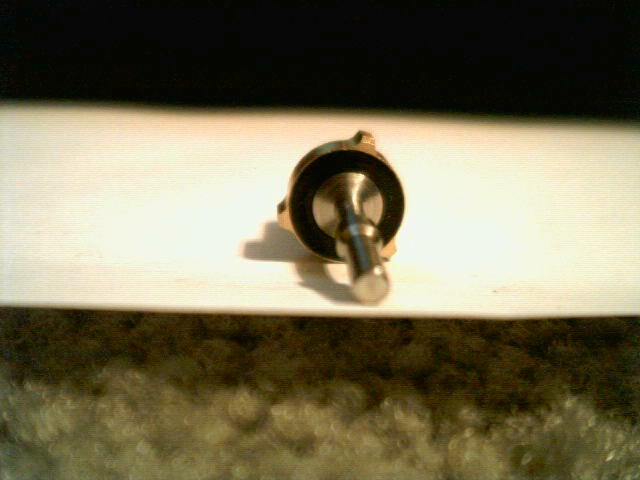
The two O-Rings in the internals of the valve are the same size. When a valve is leaking, the O-Ring on the right is usually the prime suspect. Inspect both O-Rings and replace any that look worn and torn. Also be sure to inspect all the pieces for unusual wear. Below shows how the O-Ring and Brass Fitting near the pin side of the valve go together incase you forgot.

Finally, check the face of the Cup Seal for any foreign debris. Coat it with some oil and wipe off.
Now go ahead and reassemble the valve. Be sure to lightly oil all of the internal O-Rings and fittings. Only use Hoppes #9, using an oil like Gold Cup will gum up the valve and cause more problems. Now you are back to that pesky Snap Ring. I suggest using needle nose pliers to compress the snap ring a little. Once you get one edge into the bevel in the valve, the rest should go in fine.